| 🛈 Note |
|---|
| This page is primarily targeted for Augusta University students. |
Congratulations on your new position! This page briefly explain what is expected from you as an Undergraduate Course Assistant (UCA).
The Three Rules
There are three important rules for you:
-
This is a job.
Meaning that you have a contract that you should have read and understood, and that you need to carefully clock in and out to receive the pay you deserve. Briefly reviewing the information listed here, and in particular those slides can help you in making sure that you understand all aspects of your position. Do not forget that you are first and foremost a student, and that your main goal here is to graduate.
-
You are here to help students, not to solve their problems.
Please, review what you should and should not do on this section. It is difficult to strike the right balance when helping a student, but a good rule of thumb is that you should not do anything yourself, just explain and give hints so that they can solve the problem they are facing. You are here to help students understand how to solve a problem, not to solve it for them.
-
Don’t hesitate to ask.
That’s it. You are not alone to deal with difficult situations (cheating, rude behavior, student abusing your time, etc.), and it is normal if you are sometimes unsure of the best course of action. The instructors are happy to train you and help you solve problems that may arise.
In general, UCAs should prioritize giving clear and concise explanations and hints, as to avoid confusion while also helping them better understand the problem-solving process. This means that when you encounter a problem that you are not able to solve, it’s important to ask a colleague who is available for help and try to understand their approach. This way, the student can receive assistance more quickly and will be less likely to get confused during the troubleshooting process. By emphasizing the importance of understanding and working through the problem, rather than just providing a solution, tutors can help students develop the skills they need to become more independent problem-solvers.
On top of supporting students and helping the instructor, you are also encouraged to work on the improvement of those resources. Your contribution may range from spell-checking to pointing inconsistencies, from clarifying statements to re-organizing exercises. Thanks to git and pull requests, you do not need to worry (too much) about introducing mistakes or blunders: the changes you suggest will always be reviewed by instructors before being merged in our master document. We discuss below how you can edit our resources.
Editing the Resources
You need three things to start editing our resources:
- A github account & an invitation,
- Some working knowledge of markdown,
- Some working knowledge of github’s interface.
Follow the instructions in our “Contributing Guidelines” for the first step.
For a quick syntax guide in Markdown, the best resource is this website and its 10 minutes tutorial. We list some best practices, and would appreciate if you could follow them.
For github’s interface, please refer to the following guide.
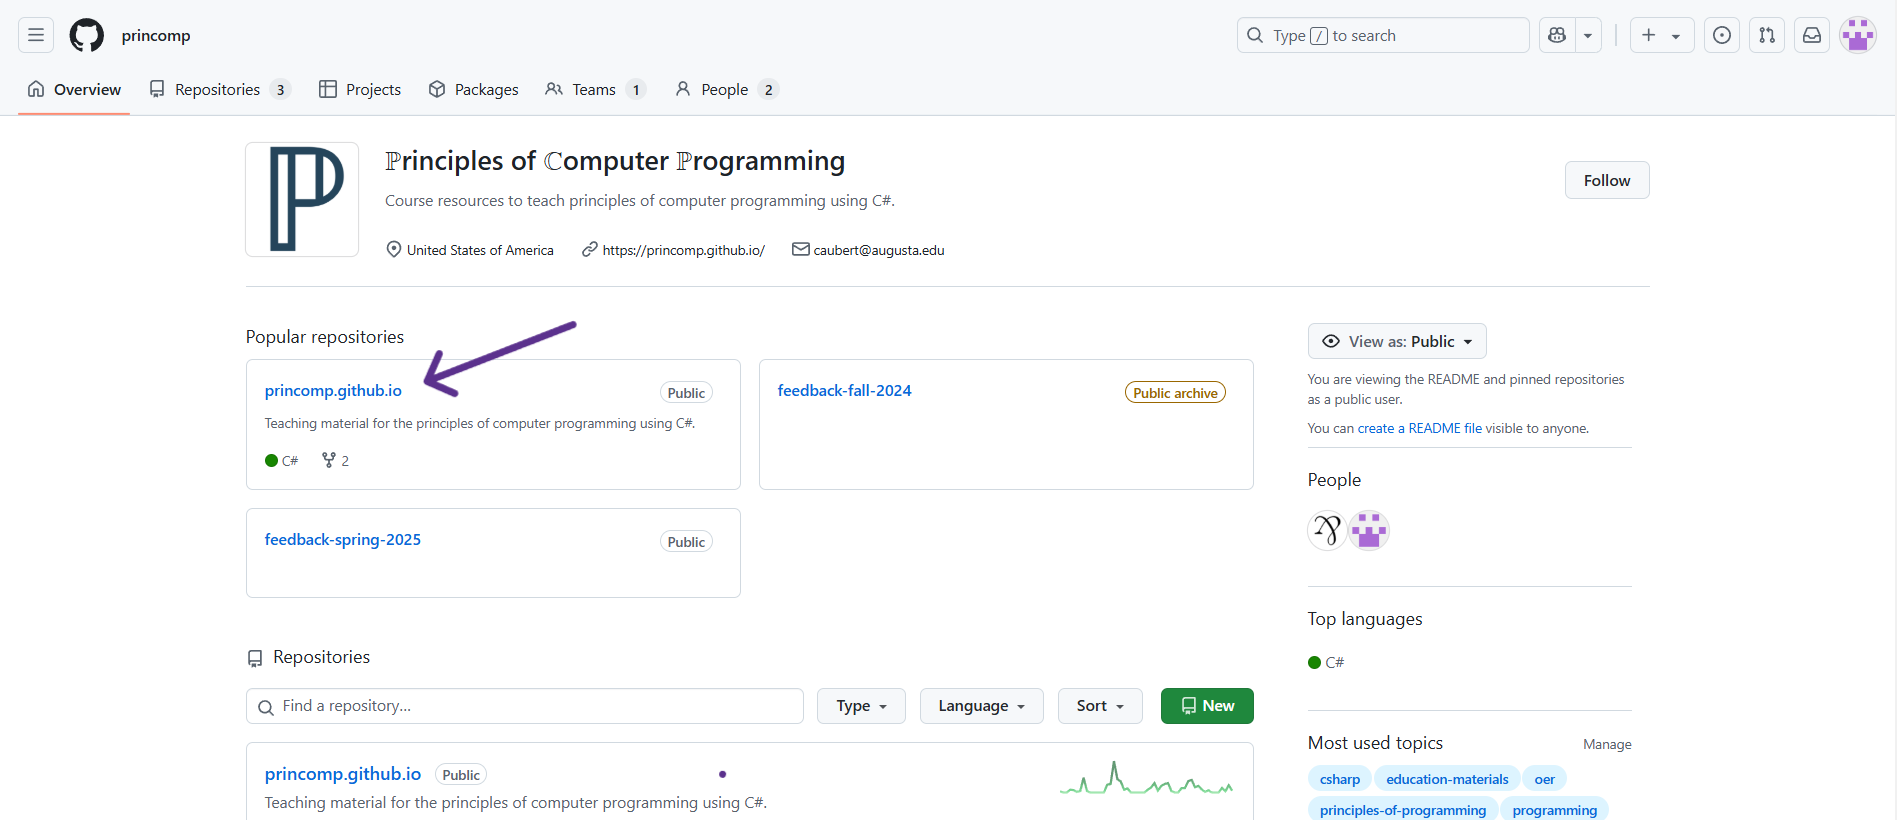
The ℙrinciples of ℂomputer ℙrogramming organization repository page on GitHub contains many “repositories”:
- The princomp.github.io contains most of the resources that will be used (so it will be where you will navigate to the most),
- The feedback-
<semester>-YYYY and similarly named repositories contain feedback submitted by students/users.
Under the Code section (next to Issues, Pull Requests, Actions, etc.), you will find various folders containing documents for the website.
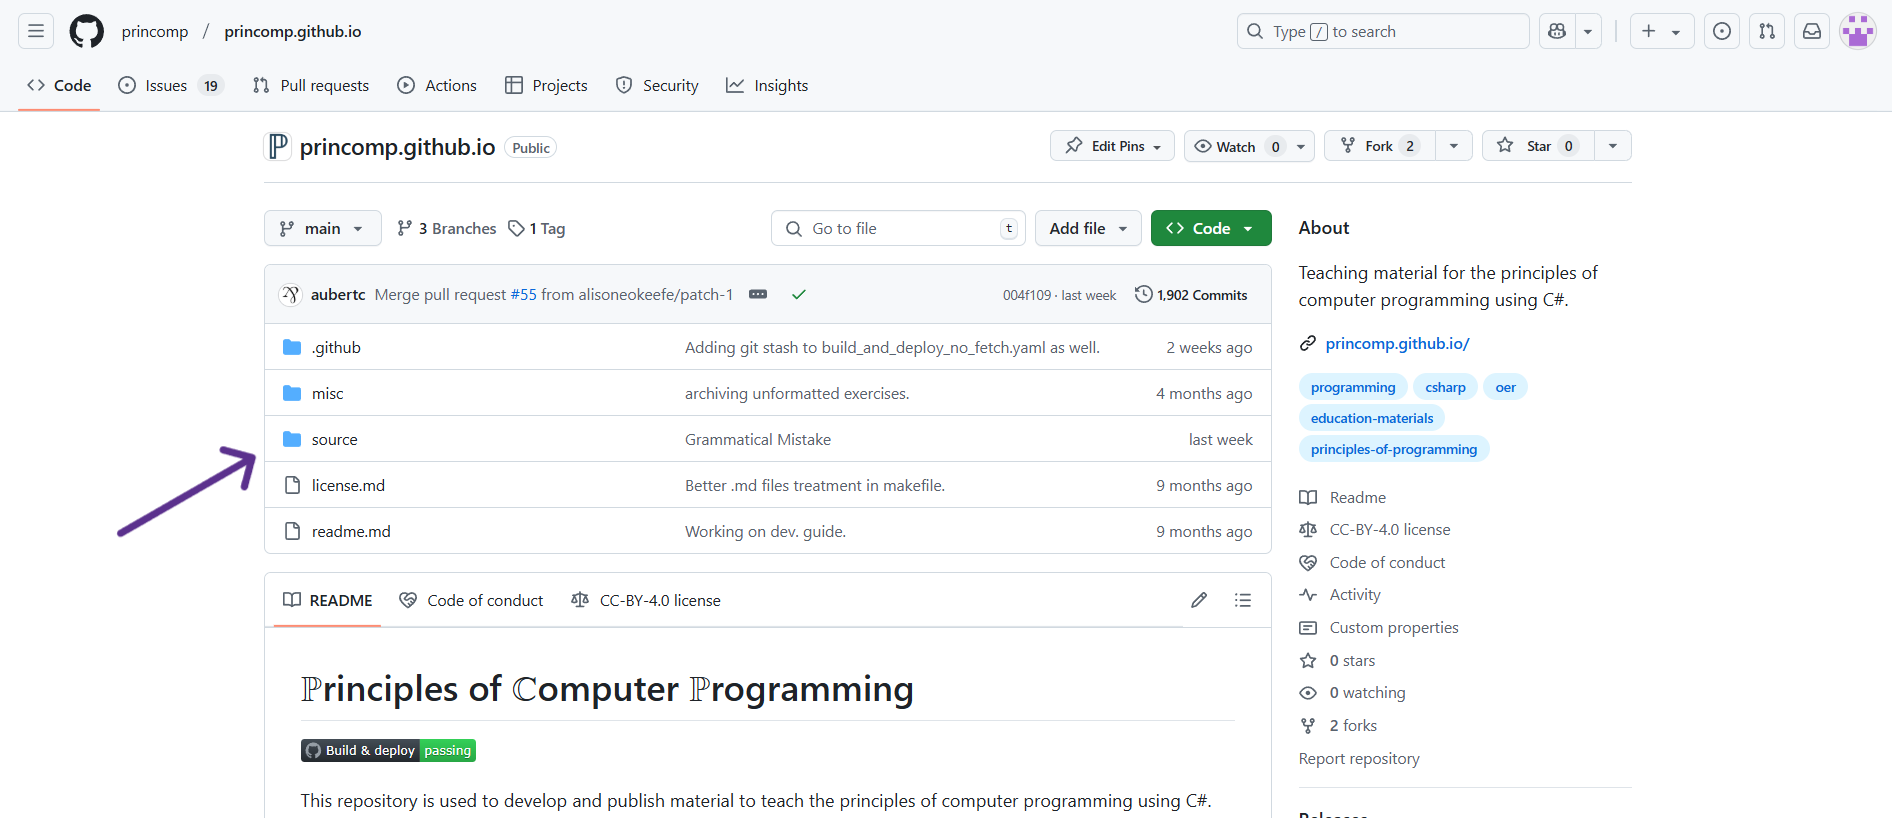
Typically, if there is some error or mistake, it will be under
source/lectures,
in the lecture notes, so that will be where you will navigate to the
most:
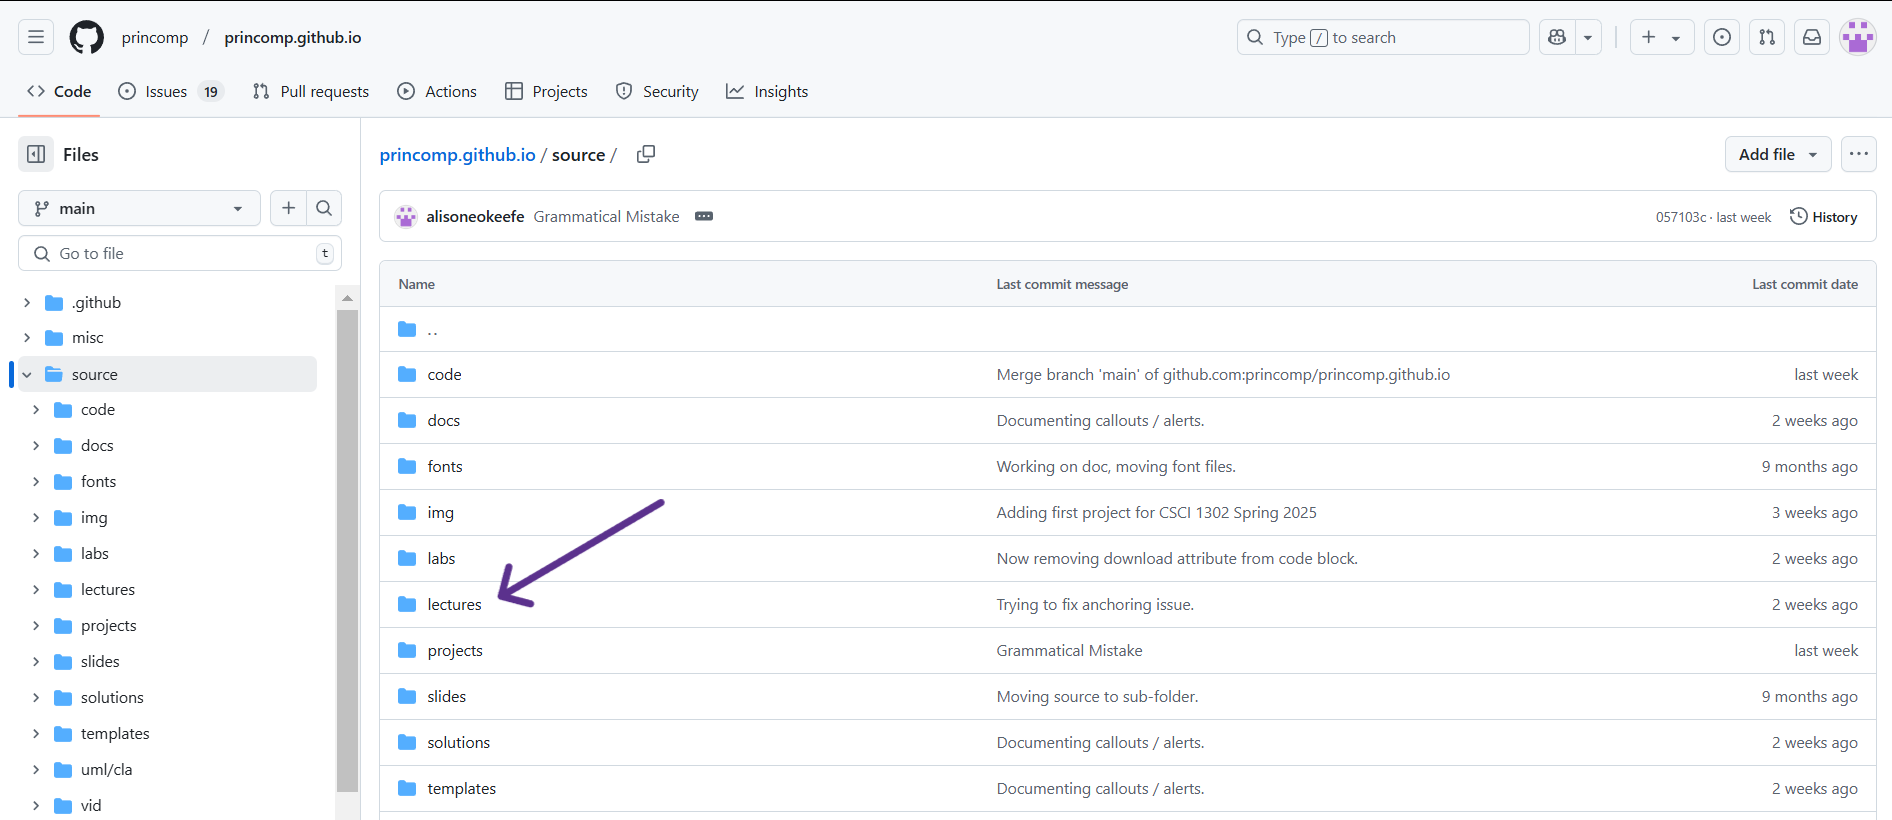
The way the resources are organized is explained here.
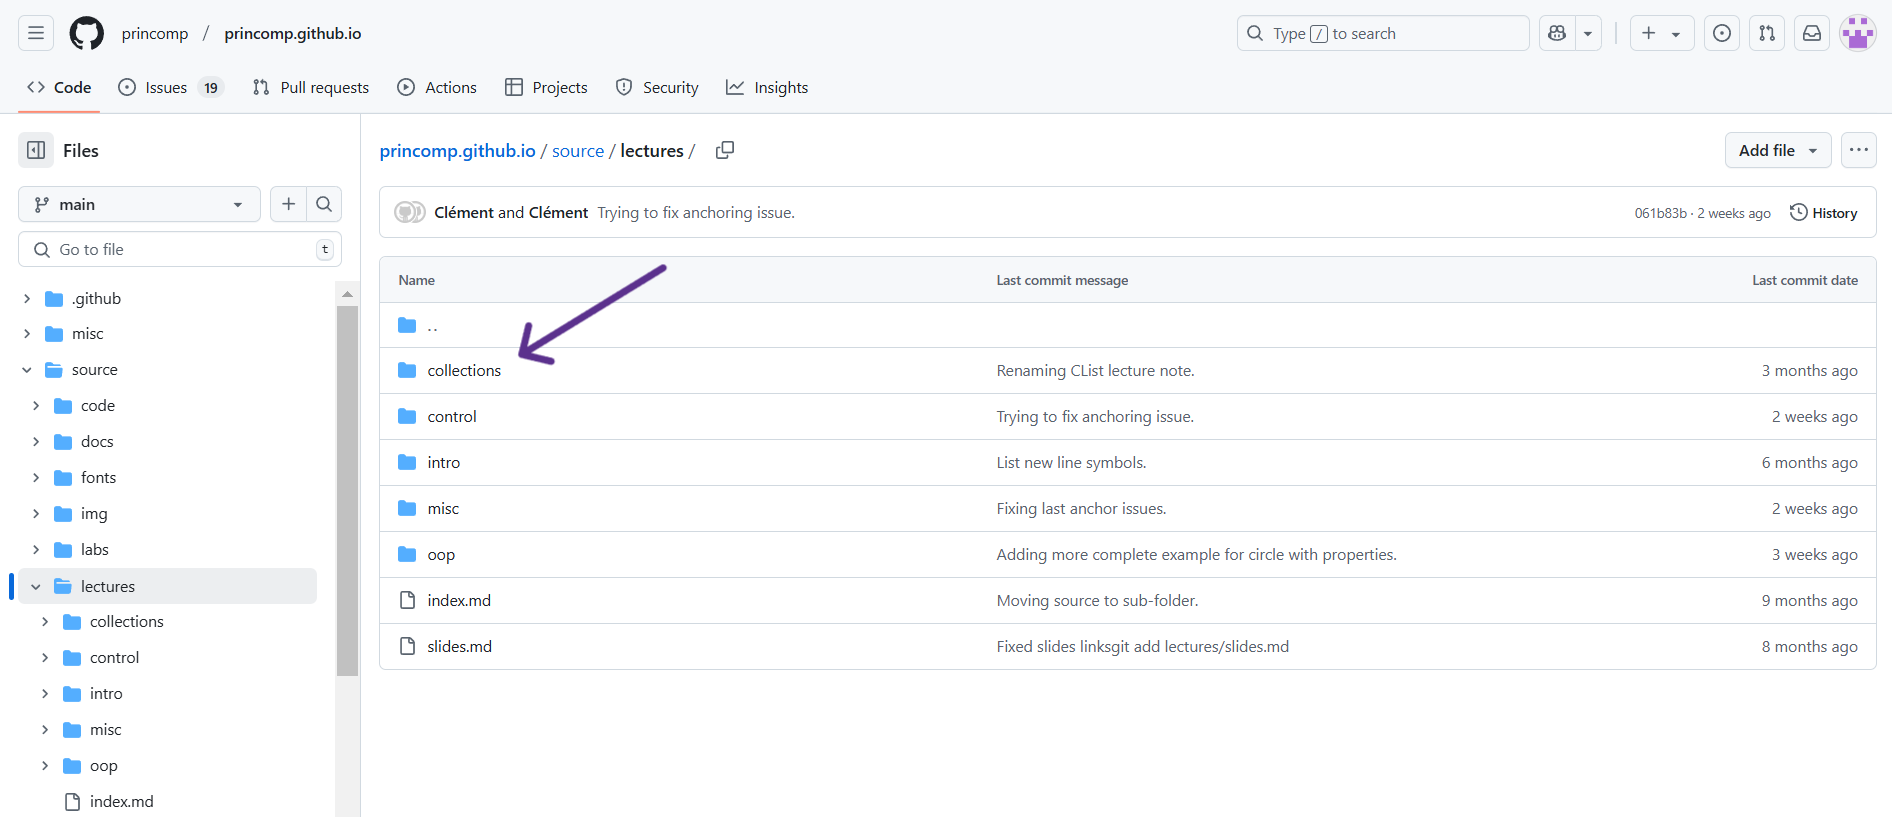
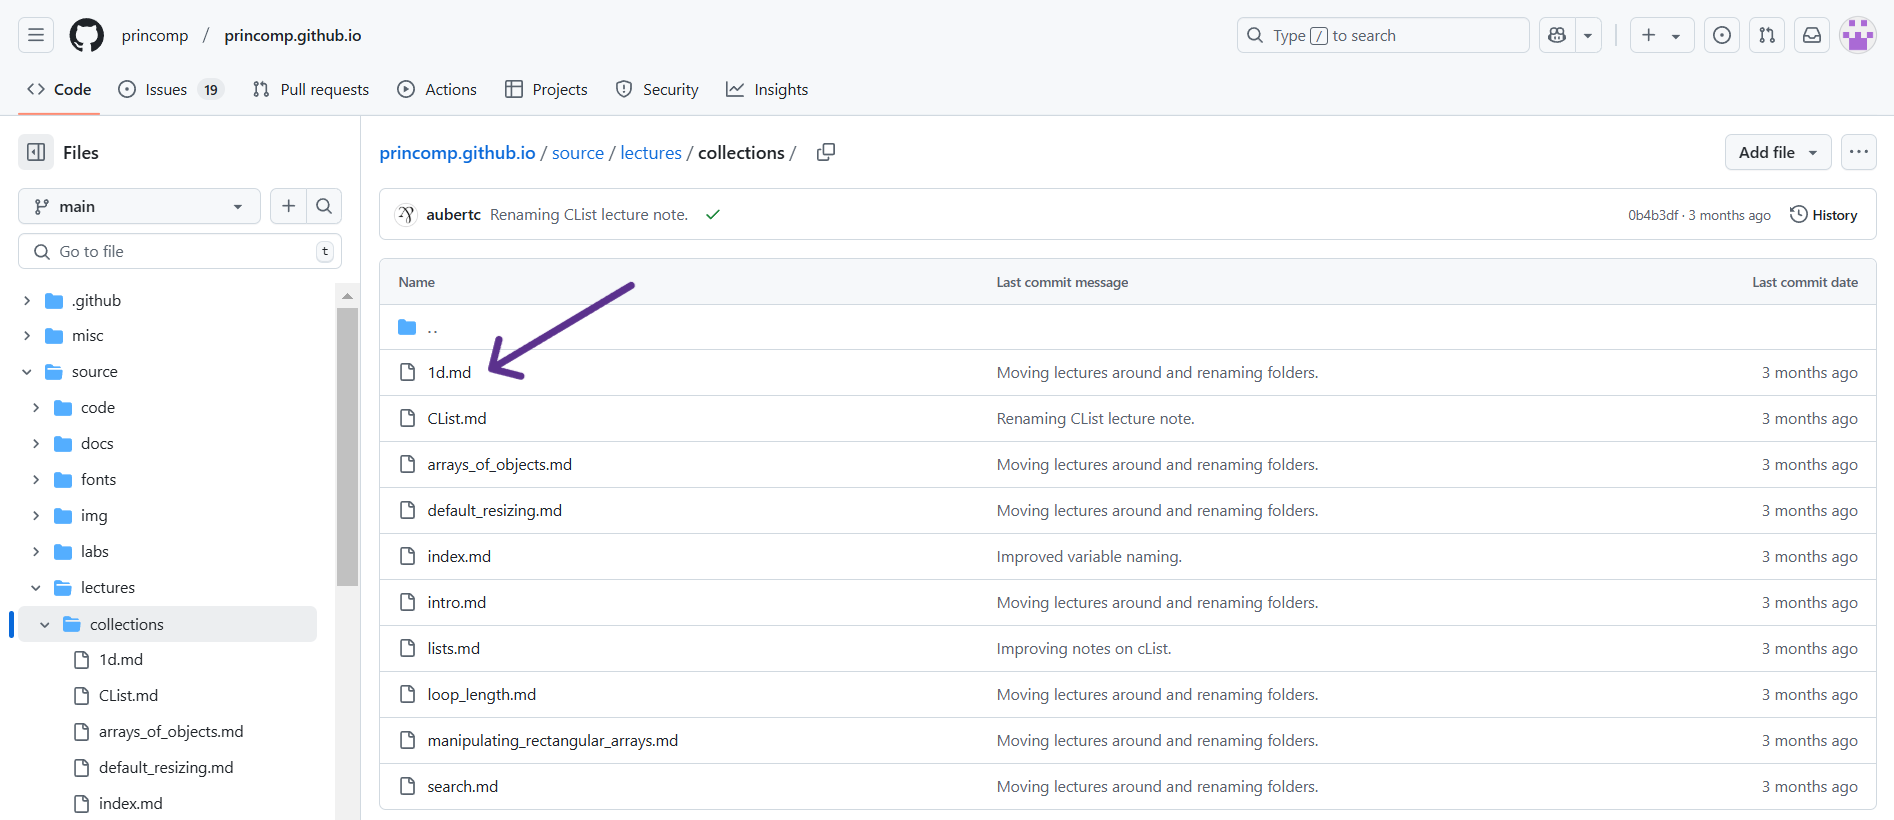
For this example, I just clicked on the “Collections,” then “1d”.
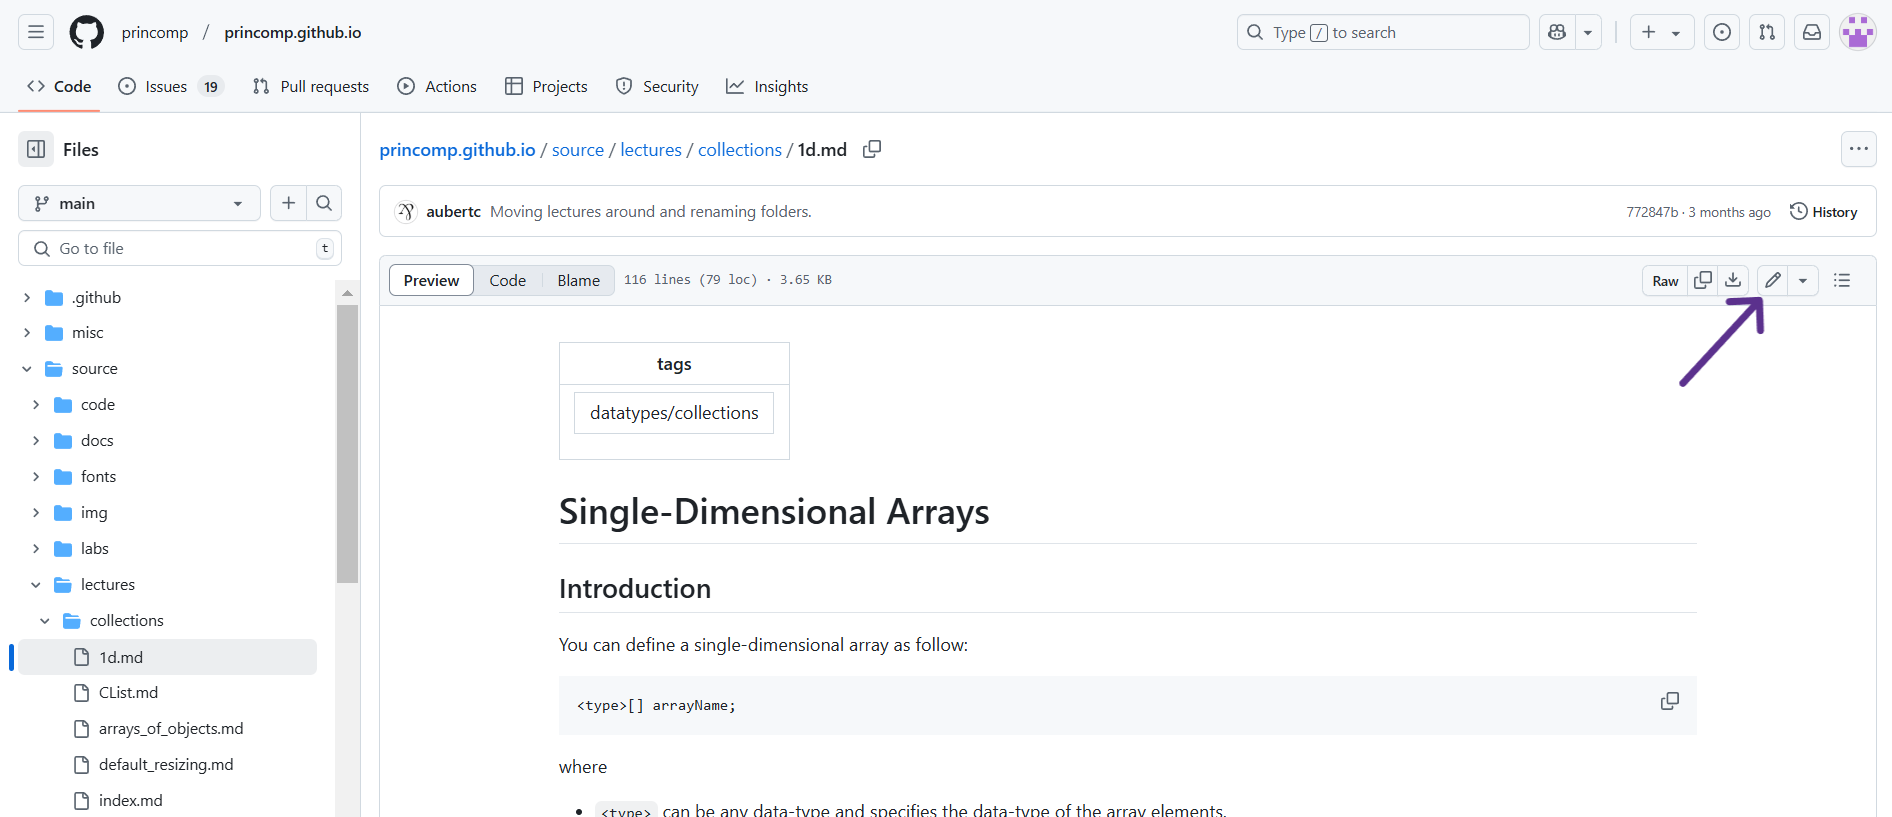
On this page, you can see the edit history of that specific document you clicked on. In the corner above the document and below the edit history, there is a pencil icon that will put you into editing mode for that document.
When you click on the pencil icon, you will see the document formatted as markdown with two sections at the top of the document: Edit file and Preview. If you have Edit file selected, then you will see the “code” version of the document whereas if you click on the Preview button, you will see the document in its “final” form, or how the website users should see it, without the “code”. To edit, make sure you have Edit file selected.
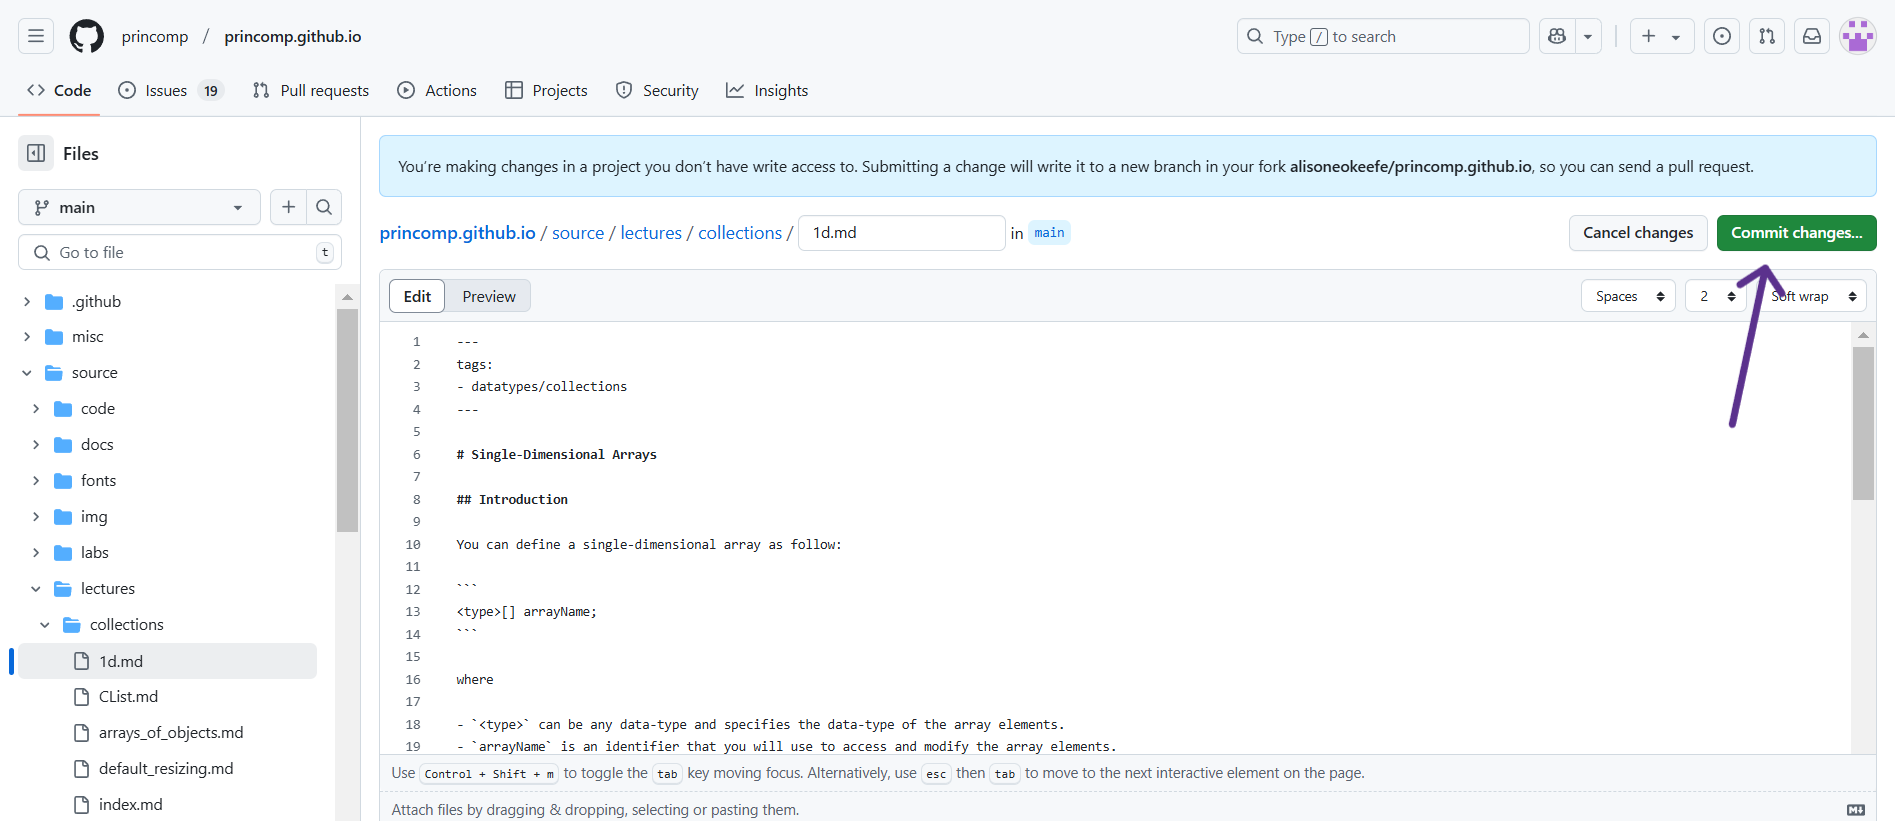
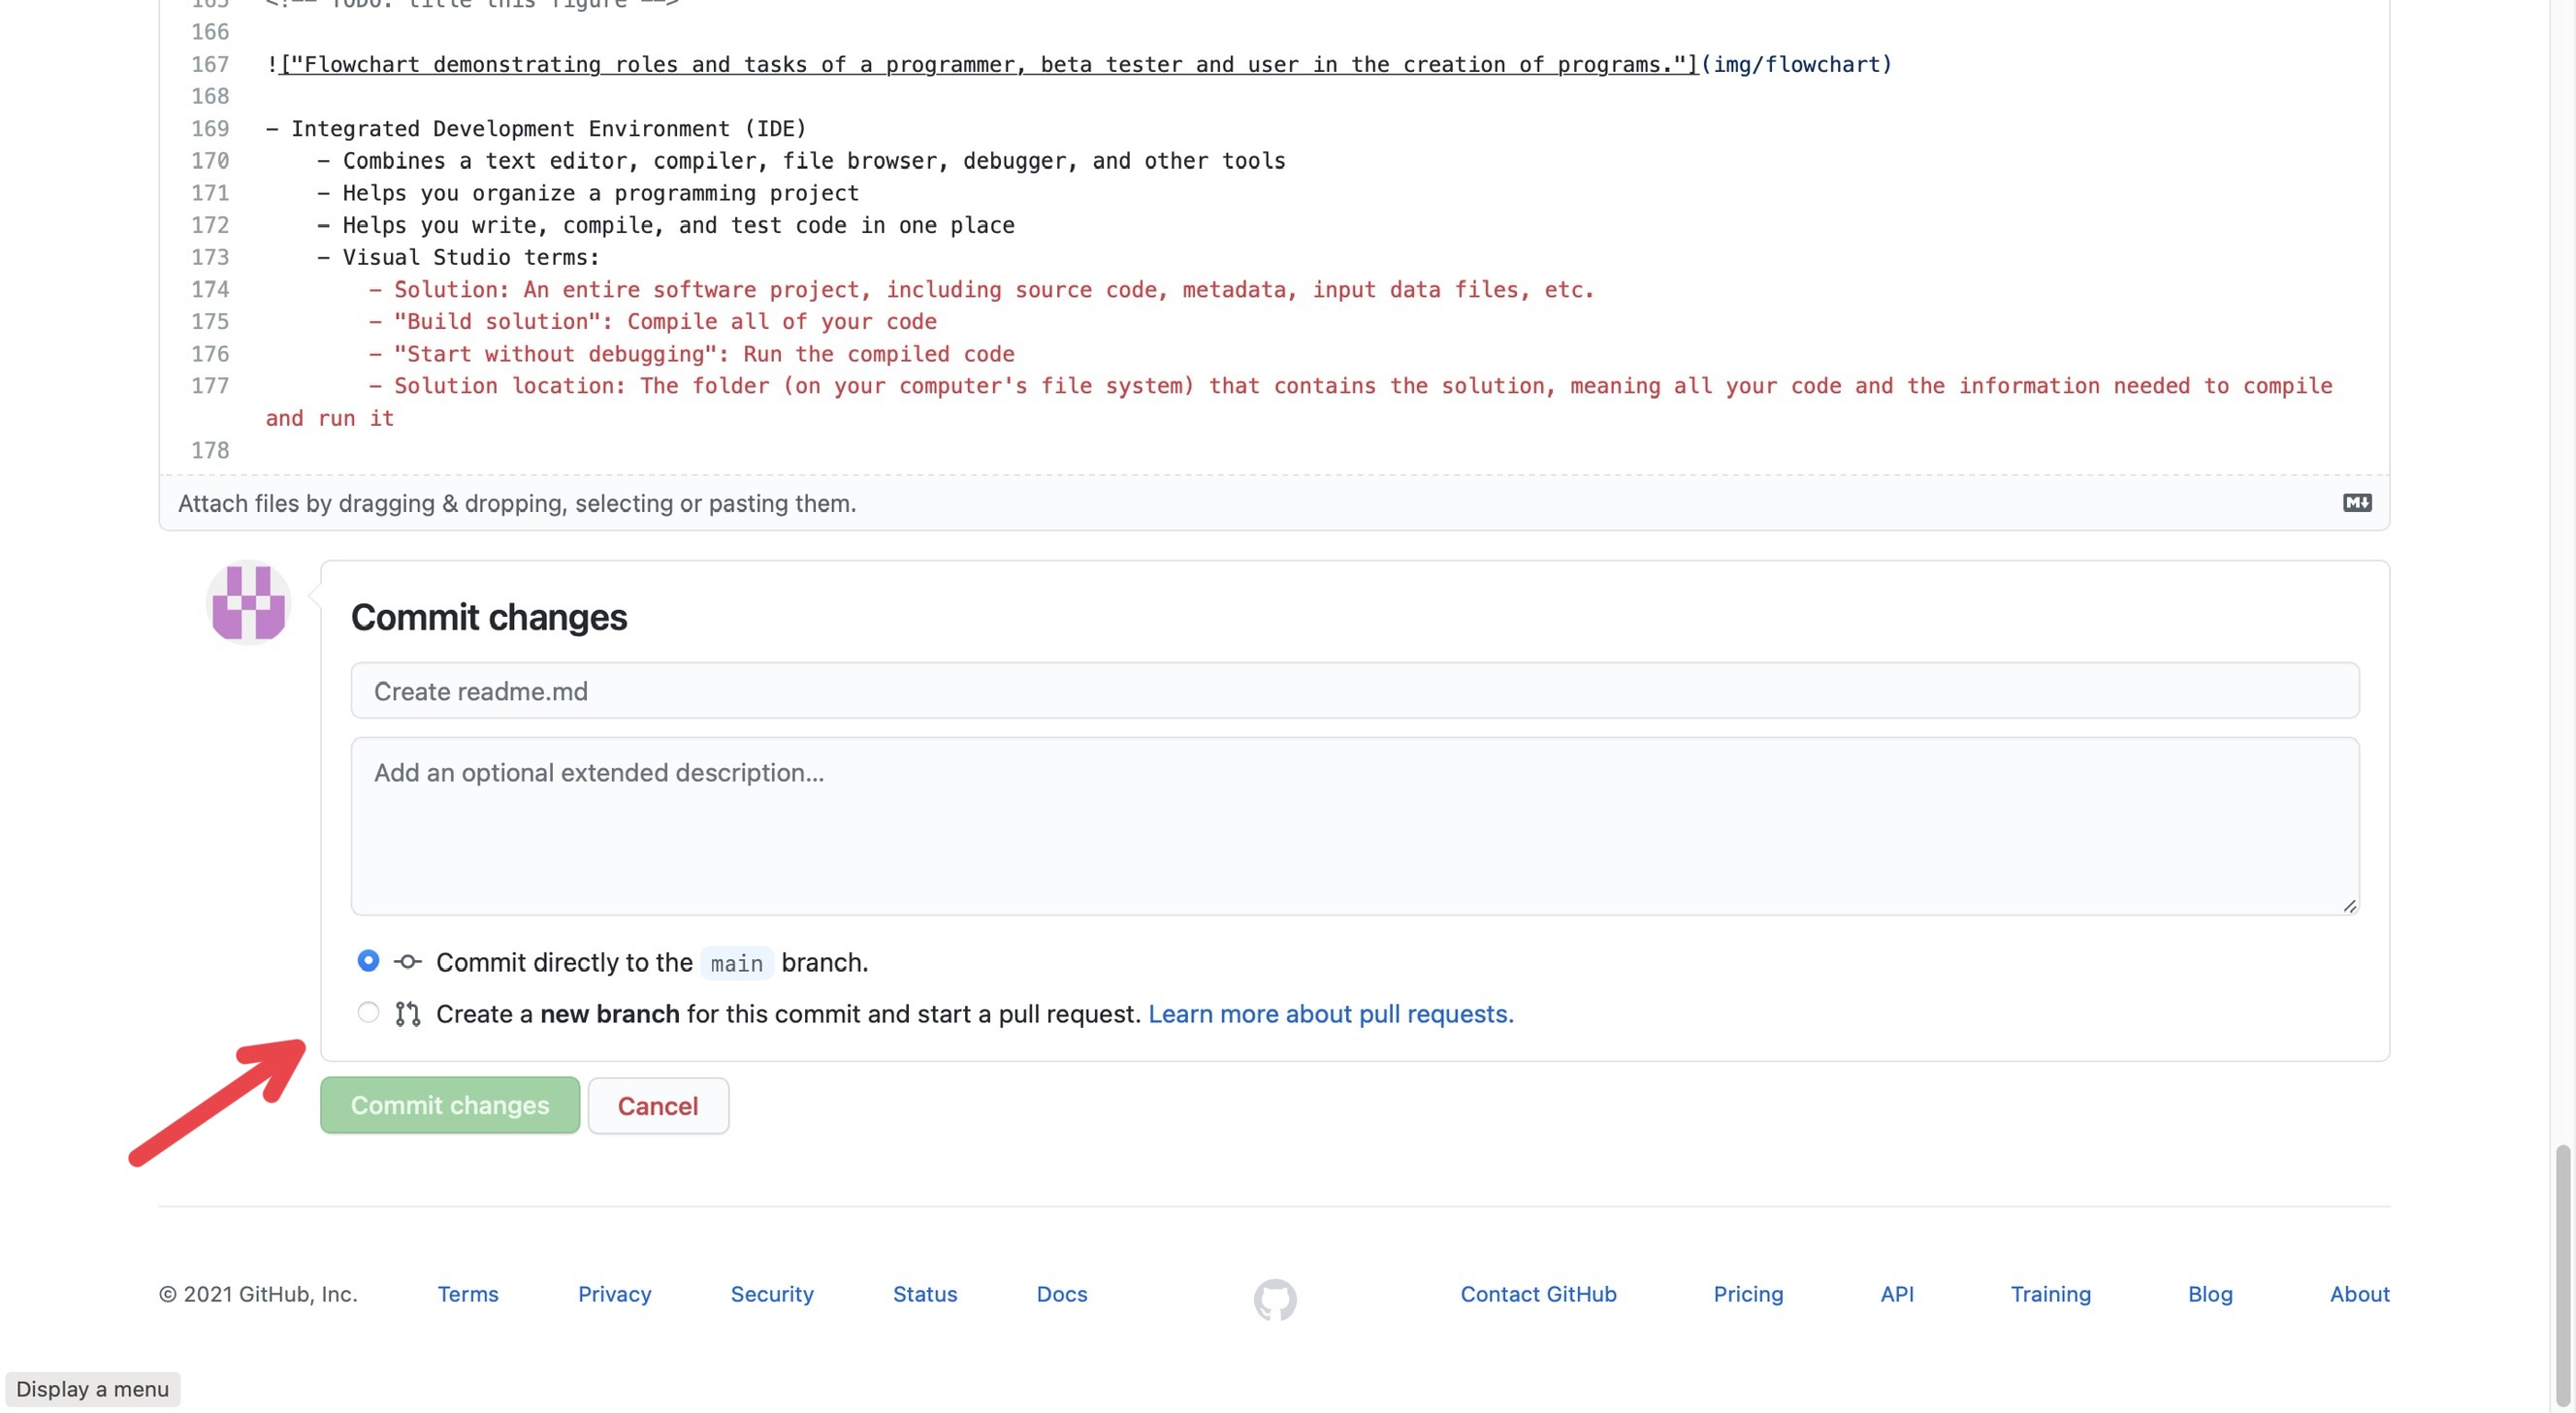
Once you have made the edits you wanted, you need to “commit” them; just like how you may write a paper, you need to submit it to the professor for them to see it. At the top right corner of the page, there is a button that says “Commit changes.” Then, a description box pops up for you to describe what you did so others will know the changes you made. (You do not need to go into every detail; just describe it generally, like “I fixed grammatical issues” or “Fixed code error.“)
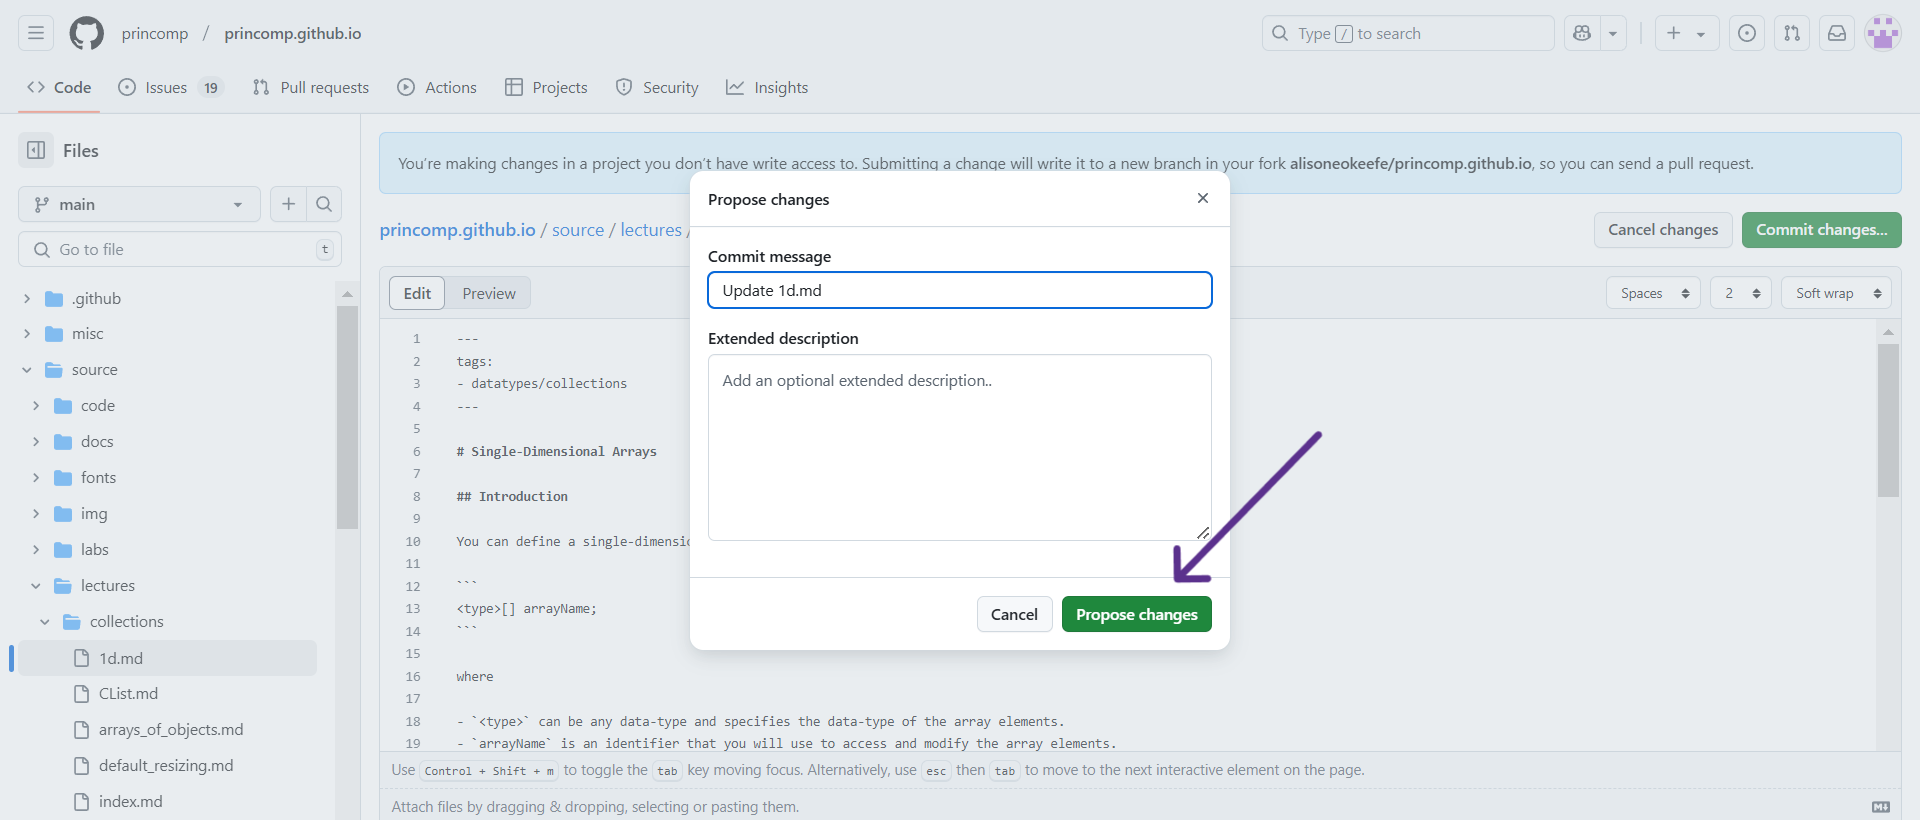 As a UCA, you do not have write
access to the princomp.github.io repository, so submitting a change
will write it to a new branch in your fork
As a UCA, you do not have write
access to the princomp.github.io repository, so submitting a change
will write it to a new branch in your fork
<your github handle>/princomp.github.io, so you can send a pull
request. Given how Github works, after making the necessary edits, click
the “Propose Changes” button located at the bottom. On this page and the
next, there will be a “Create pull request” button. Clicking on this
will start a pull request. After you have successfully created a new
branch for your commit and started a pull request, your edits will be
checked by others so as to catch any mistake(s) you may have introduced
before your pull request is merged into the base branch.
Uploading Images
Like the paragraph above states, UCAs don’t have write access to the
princomp.github.io repository, which also means they are not able to
add files to the img folder. If you find that you need to add image
files, you still can, but you must upload them to your fork first. To
access your fork, type
github.com/<your github handle>/princomp.github.io in the address bar.
The page that appears will look nearly the same as the one located at
github.com/princomp/princomp.github.io. The folders and files will be
organized the same way as well. Navigating to source/img will bring
you to the correct folder. In the top right corner, directly above the
edit history, there will be a button that says “Add file.” If you click
this, two options appear: “Create new file” and “Upload files.”
If you click “Upload files,” you will be brought to a page where you’ll
be able to drag files onto it or choose your files manually. When you’ve
uploaded the files, select the radio button next to “Create a new branch
for this commit and start a pull request.” Then, select “Commit changes”
at the bottom of the page. You’ll then be prompted to submit a pull
request. After this, you should be brought back to the main page of your
fork. A yellow box will be at the top of the screen that says
“branch name had recent pushes x minutes ago.” On the right of that
box, there will be a button that says “Compare & pull request.” From
here, you can submit a pull request as you would for any other commit!